1. Quick set up your local Rails env
August 2015 · 1 minute read
Quick set up your local env with Rails for a new application. The following tutorial takes you through the first steps I took to generate my blank rails application on mac os x. This is where I will begin…
This tutorial expects some prior knowledge of frameworks, ruby, rails, command line, how web applications work, sublime text 2, mac os x
1. Install Rails - http://railsinstaller.org/en
2. Using your terminal, navigate to your dev root (the folder where you keep all of your applications, programs, development).
3. Follow these simple commands:
Create new app
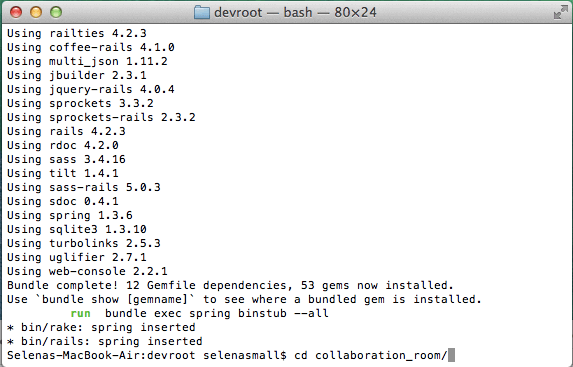
$ rails new collaboration_room

Move into new app file
$ cd collaboration_room
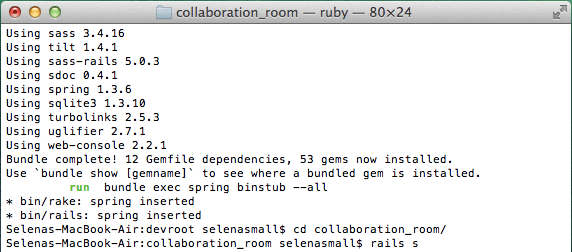
Start the server
$ rails s
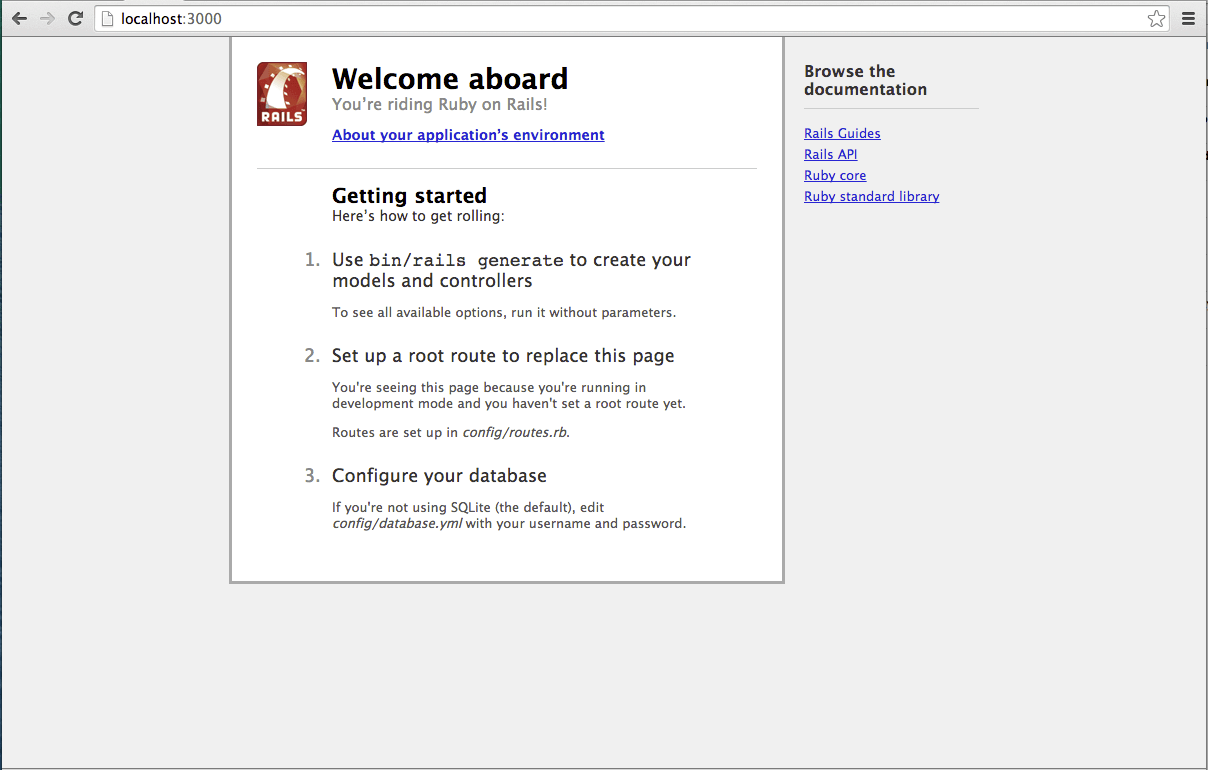
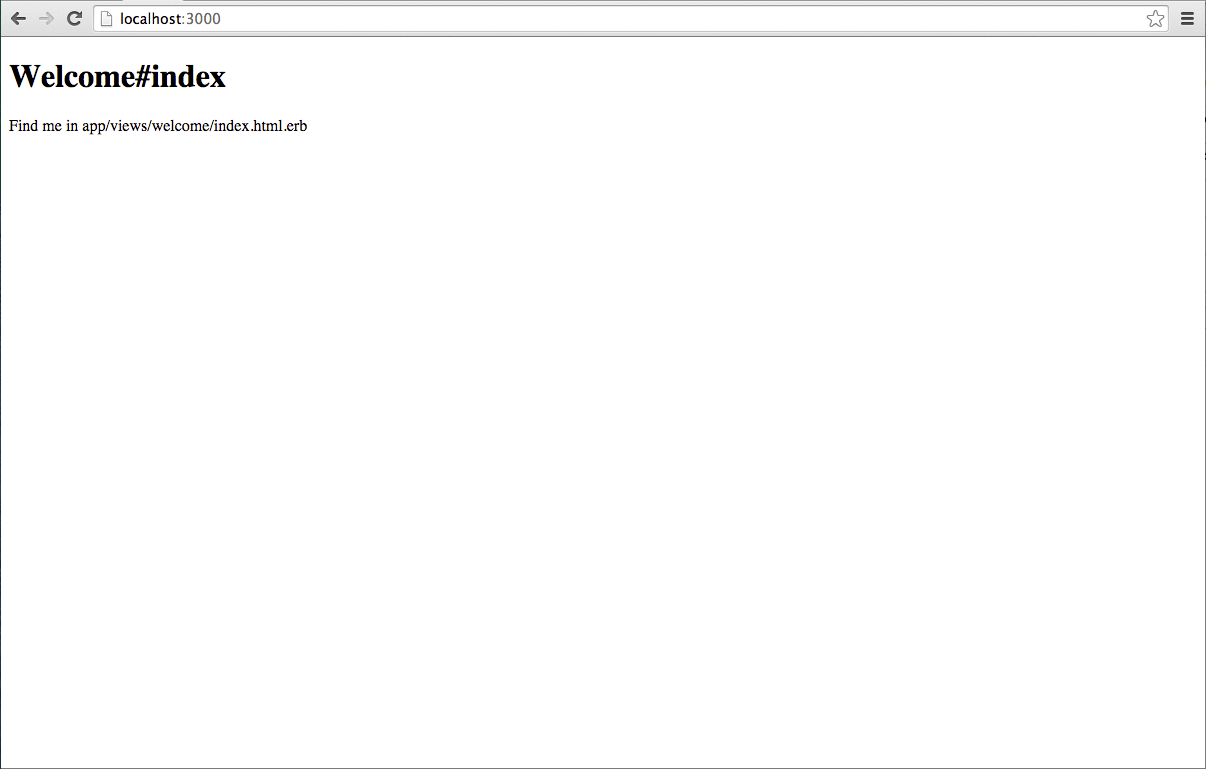
 4. Navigate in chrome to:
Your local server
localhost:3000
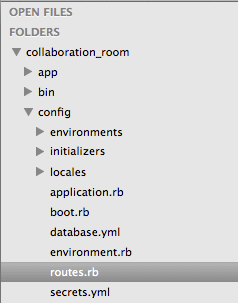
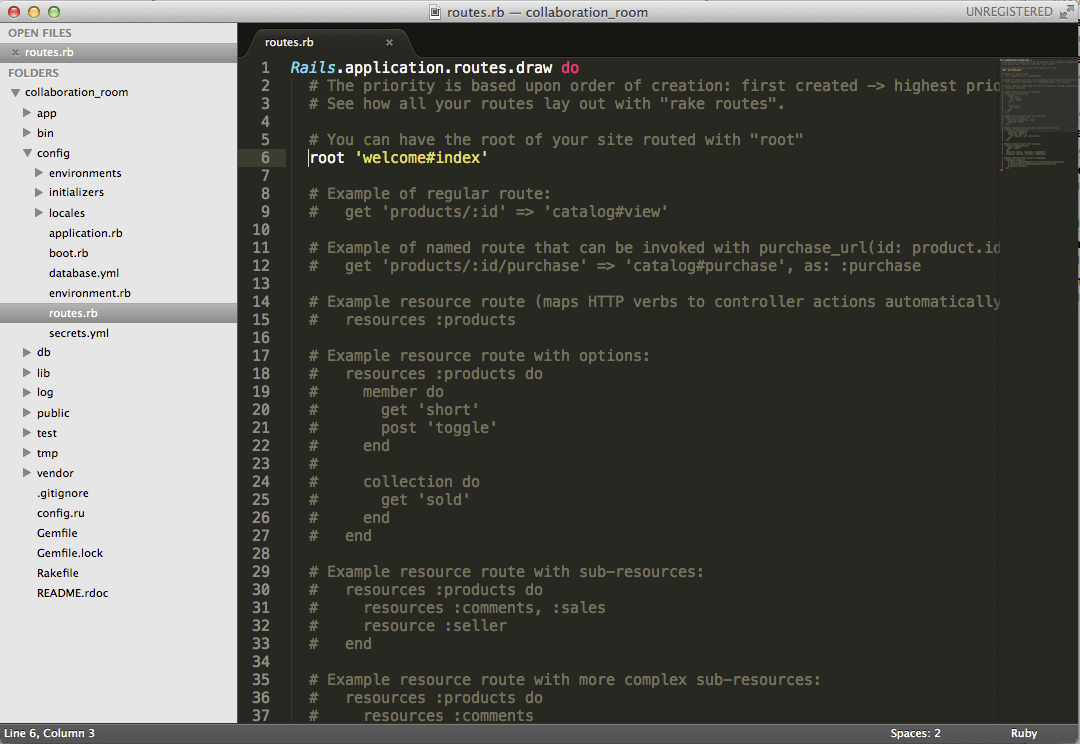
5. Open your app in sublime text 2 and navigate to:
collaboration_room/app/config/routes/
6. Add the following new line under the first line and save the file:
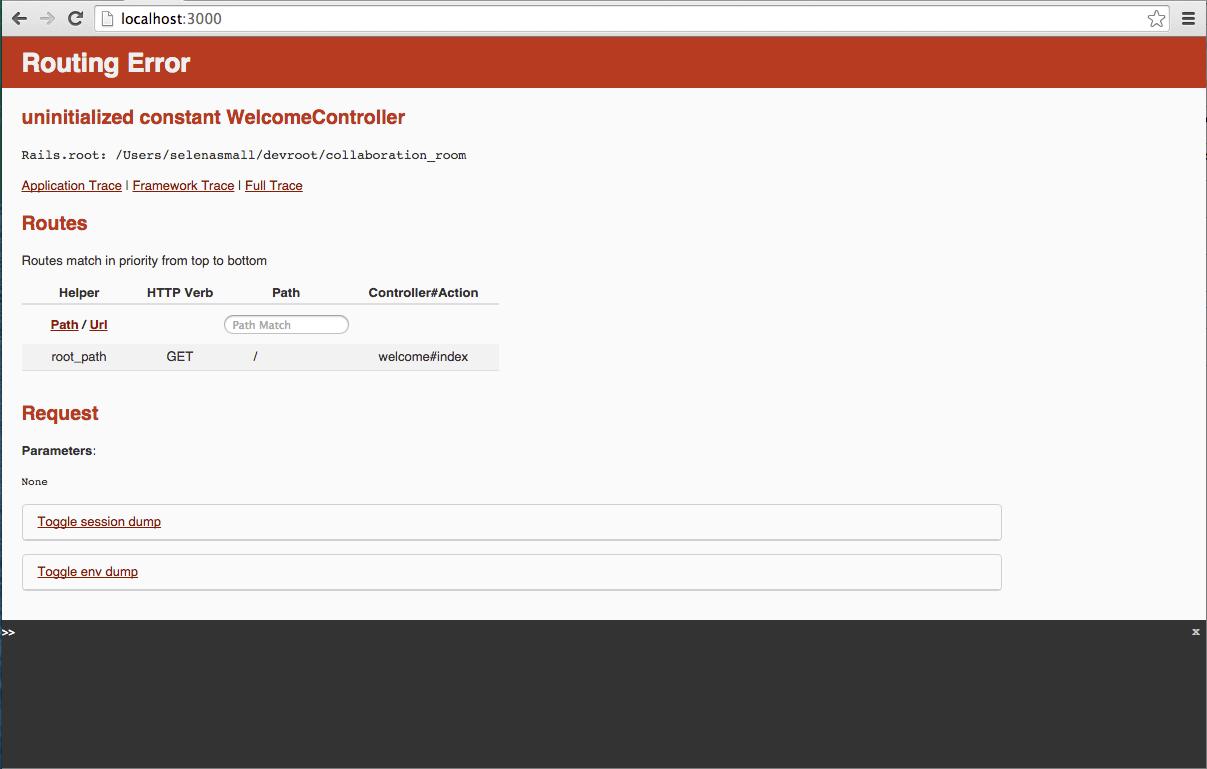
7. Refresh your localhost in chrome. Your should get a routing error:
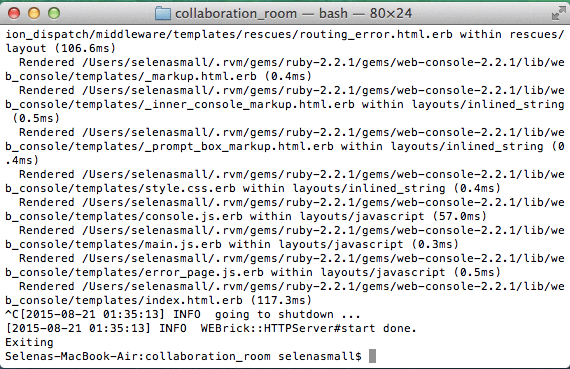
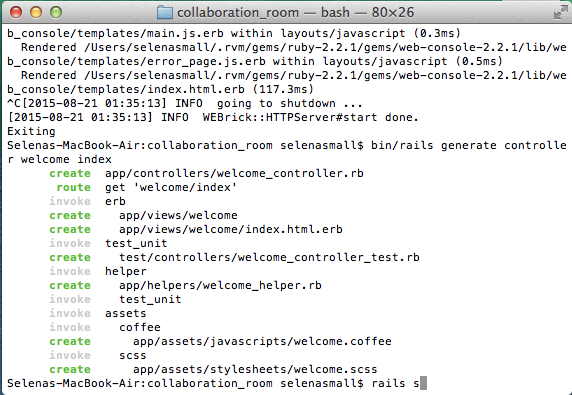
8. Back to your terminal, follow these simple commands to create your new page:
Exit server
ctrl+c
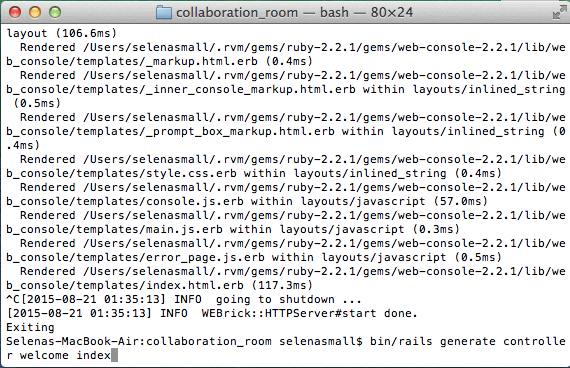
Generate new controller file
$ bin/rails generate controller welcome index
Start the server
$ rails s
 Now your good to go with your new blank rails app.
Enjoy!
Resources: * http://guides.rubyonrails.org/getting_started.html