4. Render Base Scaffold
September 2015 · 3 minute read
In this tutorial, I am endeavouring to get the base of my app looking how I would like it, so I can create an initial building block to start from. It will enable me to complete models as I go.
1. Following my previous tutorial, I will begin setting up the layout files for my app and put in a nav-bar along the top.

2. I will need to use a little bit of HTML in order to get the desired layout and make the app somewhat appealing. CSS will be added at a later time to get desired visual effects.
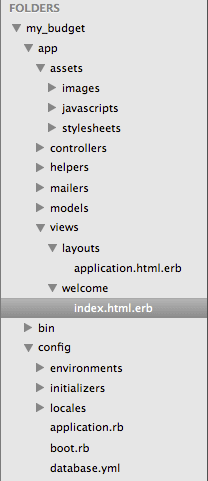
First up, I’m going to center the header & description under app/views/welcome/index.html.erb
It’s as simple as adding the ‘center’ tags, seen below
<h1>
  <center>
    My Budget
  </center>
</h1>

<body>
  <center>
    <p>This is an app designed to assist individuals in projecting their own budgets, savings and expenses from week to week. It will be built with Ruby on Rails, customized boostrap and postgreSQL assisted by tutorials demonstyrating an understanding of development processes</p>
  </center>
</body>
Next, I’m going to create a new row on the page, so as not confuse different segments of the page. Lines 1 & 2 and 10 & 11 wraps the header content in it’s own “row”. Only the data between lines 3-9 will show up or affect this area of the page.
<div class="row">
  <div class="col-md-12">
    <h1>
      <center>
        My Budget
      </center>
    </h1>

    <p>
      <center>
        This is an app designed to assist individuals in projecting their own budgets, savings and expenses from week to week. It will be built with Ruby on Rails, customized boostrap and postgreSQL assisted by tutorials demonstyrating an understanding of development processes
      </center>
    </p>
  </div>
</div>
Below the header row, I am going to want to create two columns. The best way to do this is to create a new “row” with a new class spanning only a portion of the page. (Remember, the page width is broken down into 12 segments).
<div class="row">
  <div class="col-md-8">
  </div>

  <div class="col-md-4">
  </div>
</div>
These six lines will split the page into two columns, one will be 2/3rds of the page, the other 1/3rd.
Let’s test it out.
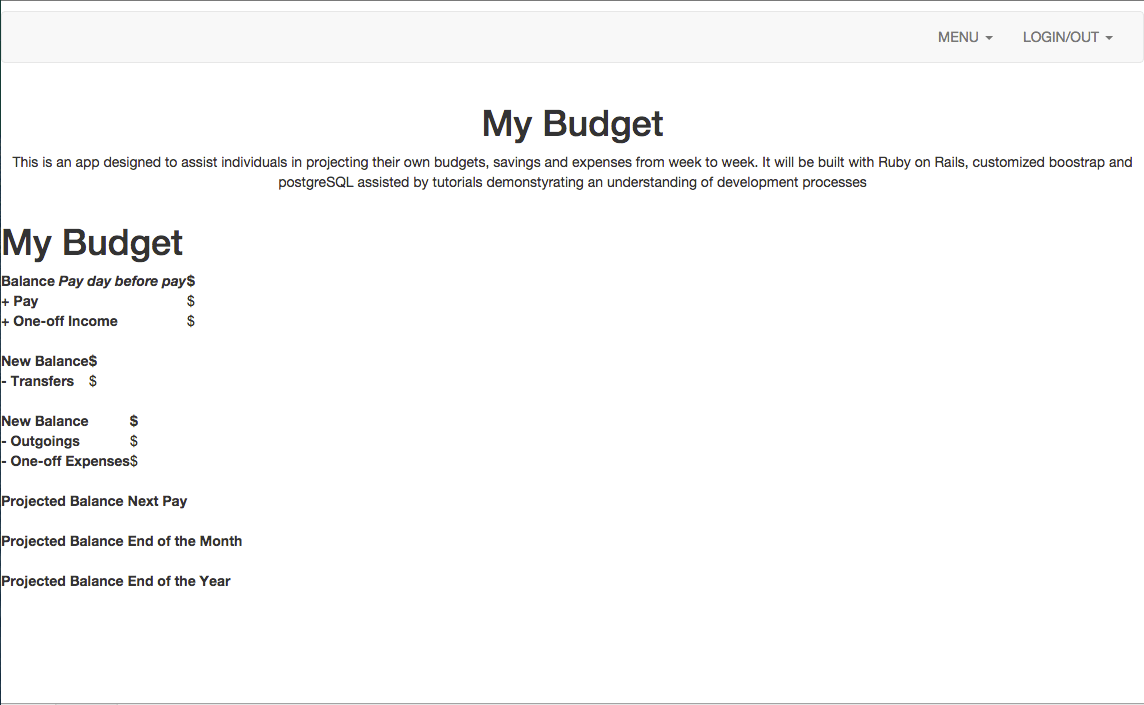
1. I’m going to create a new partial called _leftcolumn.html.erb under app/views/welcome
2. In that partial, I’m going to just write some simple HTML to produce a rough layout of the left-hand column of my app. This will likely be modified later…
<br />

<h1>My Budget</h1>

<table>
  <th>
    Balance <i>Pay day before pay </i>
  </th>

  <th>$</th>

  <tr>
    <td>+ Pay</td>

    <td>$</td>
  </tr>

  <tr>
    <td>+ One-off Income</td>

    <td>$</td>
  </tr>
</table>

<table>
  <th>New Balance</th>
  <th>$</th>

  <tr>
    <td>- Transfers</td>
    <td>$</td>
  </tr>
</table>

<table>
  <th>
    New Balance
  </th>

  <th>$</th>

  <tr>
    <td>- Outgoings</td>
    <td>$</td>
  </tr>

  <tr>
    <td>- One-off Expenses</td>
    <td>$</td>
  </tr>
</table>

<div>Projected Balance Next Pay</div>

<div>Projected Balance End of the Month</div>

<div>Projected Balance End of the Year</div>

</body>
- Back in the app/views/welcome/index.html.erb file, we need to write out the line of Ruby which will call and render our new partial within the static index page.
<div class="col-md-8">
  <%= render "welcome/leftcolumn"%>
</div>
Although the HTML will likely change with further styling, I at least have a start point with working views.
Now to render the right-hand column, I can simply follow the last 3 steps again to get the initial layout on the page. I will need to ensure the ruby code to render my new _rightcolumn.html.erb partial is in the correct ‘div’ under app/views/welcome/index.html.erb file.
*Reference